
Wedding champagne tower setup: your complete guide
Master your wedding champagne tower setup with our complete guide, ensuring a stunning display that will wow your guests and create lasting memories.
TL;DR:
- A champagne tower creates a stunning wedding moment but requires careful planning, preparation, and practice to ensure stability. Using coupe glasses, choosing a stable location, and pouring slowly into the top glass are crucial for a successful display. Personalizing the design with alternative beverages, lighting, and decorations makes the experience memorable and uniquely yours.
Few wedding moments capture a room quite like a champagne tower. The cascading waterfall of bubbles, the gleaming glasses stacked perfectly, the collective gasp from guests as the pour begins. Getting your wedding champagne tower setup right, however, takes more preparation than most couples realise. Choose the wrong glasses, pick an unstable location, or pour too quickly, and what should be a showstopping moment becomes a stressful one. This guide covers everything you need: the right materials, the assembly process step by step, pouring technique, and how to make the moment truly your own.
Table of Contents
- Key takeaways
- Wedding champagne tower setup: what you need first
- How to build a champagne tower step by step
- Pouring champagne: getting the cascade right
- Common mistakes and how to avoid them
- Creative ideas for a personalised tower
- My honest take on champagne towers
- Make your wedding unforgettable with Connections Entertainment
- FAQ
Key takeaways
| Point | Details |
|---|---|
| Use coupe glasses only | Flutes cannot stack or overflow correctly; coupe glasses are the professional standard for any champagne tower. |
| Location is everything | Choose a level, hard-floored surface away from high-traffic areas before you begin building. |
| Calculate bottles generously | Plan for 5 glasses per bottle rather than 6, and budget extra for overflow during the pour. |
| Never move the tower | Once assembled, the tower must stay in place; relocating it risks immediate collapse. |
| A dry run saves the day | Practise the full build at least once before your wedding day to build confidence and spot any issues. |
Wedding champagne tower setup: what you need first
Before you touch a single glass, getting your materials right makes the difference between a tower that stands tall and one that wobbles at the first pour. This is not a step to rush.
Choosing the right glasses
The single most important decision in your entire setup is your choice of glassware. Coupe glasses permit stacking and create the elegant overflow that defines the look. Champagne flutes, however beautiful they may look individually, simply cannot produce this effect. Their narrow shape prevents the cascading waterfall and makes stable stacking almost impossible.
For indoor receptions in a controlled venue, traditional glass coupes are the classic choice. For outdoor celebrations, marquees, or venues with lots of guest movement, shatterproof acrylic glasses are preferred by experienced event planners. Acrylic coupes are lighter, safer, and still look genuinely beautiful on display.
Pro Tip: Look for coupe glasses with interlocking grooves on the base. These slot together during stacking and dramatically reduce the risk of glasses shifting once your tower is built.
How many glasses and bottles will you need?
Tower size is usually described by the number of tiers. A four-tier tower uses 1 glass on top, then 4, then 9, then 16, totalling 30 glasses. A five-tier tower adds a 25-glass base layer, bringing the total to 55 glasses. Work out your tier count based on the visual impact you want and your guest numbers.
For champagne volume, a 36-glass tower requires 7 to 8 bottles and a 49-glass tower requires 8 to 9 bottles. The key calculation rule is to plan for 5 glasses per bottle rather than the standard 6, because overflow during the pour means you will use more champagne than a straight pour would suggest. Always have at least one extra bottle ready.
Here is a quick pre-setup checklist to work through before your wedding day:
| Item | What to check |
|---|---|
| Coupe glasses | Correct quantity, matching size, clean and unchipped |
| Champagne or alternative | Sufficient bottles, chilled well in advance |
| Stable table | Level surface, hard floor, away from doorways |
| Drip tray or waterproof cloth | Positioned beneath glasses to catch overflow |
| Spare glasses | A few extras in case of breakages during build |
| Photographer briefing | Confirm they know the pour timing |
How to build a champagne tower step by step
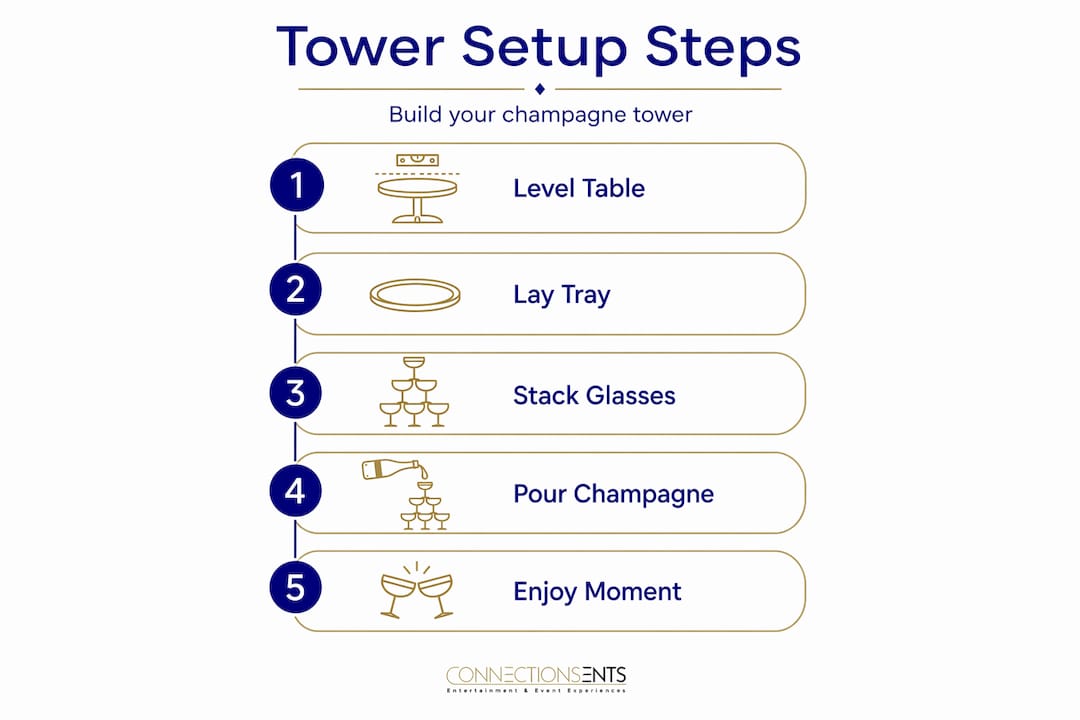
With your materials ready and your location confirmed, you can move on to the build itself. Follow these champagne tower steps carefully and the process is genuinely straightforward.
Select and prepare your location. Place your table on a level, hard floor surface. Champagne towers must not be moved once built, so choose the exact spot and confirm it before you place a single glass. Avoid carpet, uneven paving, or anywhere near a dance floor or main walkway.
Lay your drip tray. Position a waterproof tray or a dark cloth beneath and around the table edge. This protects the venue floor and makes cleanup much simpler.
Build the base tier. Arrange your largest number of glasses in a tight square or diamond grid pattern on the table. Each glass should touch its neighbours. If your glasses have interlocking grooves, setup takes as little as 5 to 10 minutes once you get the rhythm.
Add the second tier. Place the next layer of glasses centred over the gaps in the tier below. The base of each upper glass should rest in the diamond-shaped space between four lower glasses. This is what distributes weight and creates stability.
Continue upward, one tier at a time. Work slowly and deliberately. Centre each tier as you go. Pause between tiers to check the overall structure feels settled.
Place the single top glass last. The top glass sits centred over the tier below. Once placed, give the table a very gentle tap and observe whether any glass shifts. Adjust anything that wobbles before the event begins.
Step back and check alignment. View the tower from multiple angles. A well-built tower should look symmetrical from every direction.
Here is a summary reference for the day itself:
| Step | Action |
|---|---|
| 1 | Confirm level location and lay drip tray |
| 2 | Build base tier in tight grid formation |
| 3 | Add successive tiers centred over gaps |
| 4 | Place top glass and check stability |
| 5 | Brief a helper to stand nearby during the pour |
Pro Tip: Do a complete dry run at home or at the venue during setup day. Building the tower once before the actual moment removes nerves, helps you spot any uneven glasses, and means you know exactly how long it takes.
Pouring champagne: getting the cascade right
The pour is the moment everyone has been waiting for. Done well, it is genuinely theatrical. The champagne tower pour should be a slow, deliberate performance, not a hurried top-up. Here is how to get it right.
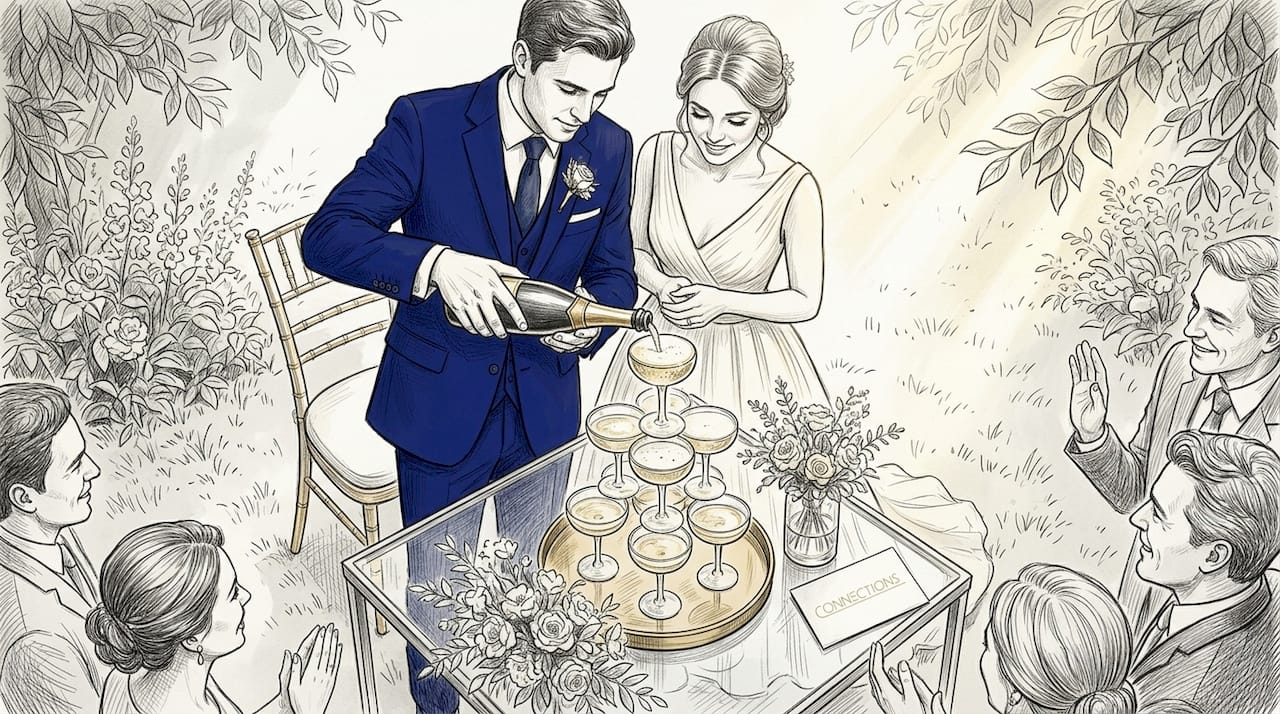
Always pour into the top glass only. You do not pour into individual glasses or try to fill each tier separately. You fill the top glass, and gravity takes care of the rest. The champagne overflows into the tier below, then into the next, creating the waterfall effect that makes guests reach for their cameras.
A few critical points to keep in mind:
- Chill your champagne, not your glasses. Warm glasses cause champagne to fizz uncontrollably, which wastes the liquid and creates an uneven pour. Your champagne should be thoroughly chilled. Your glasses should be at room temperature.
- Pour from a single bottle for the first pour. Using one bottle for the ceremonial pour looks cleaner and more controlled. Have additional bottles ready to continue filling once the initial cascade has settled.
- Slow is always better. A fast, vigorous pour creates excessive fizz and can cause the top glass to overflow too suddenly before the lower tiers have begun to fill. Think steady and measured.
- Assign one person to pour. This should be you as a couple, a trusted family member, or your event coordinator. Having two people trying to pour simultaneously creates confusion.
- Brief your photographer and videographer in advance. Confirm the exact timing of the pour so they are positioned and ready. This moment happens once, so do not leave it to chance.
- Have a cloth or napkin nearby. Small drips on the table or your hands are inevitable. A cloth kept discreetly close lets you tidy up without fuss.
Pro Tip: Open your champagne bottle gently and away from the tower before you begin pouring. A dramatic cork pop near the structure can cause vibration and knock glasses out of alignment.
Common mistakes and how to avoid them
Even with the best preparation, a few recurring issues trip couples up on the day. Understanding these in advance means you can plan around them rather than react to them.
The most common structural failure comes from the wrong table or the wrong location. Carpet and wobbly tables create vibration that travels through the structure over time, particularly once guests start moving around nearby. A hard, stable surface is not a nice-to-have. It is a requirement.
Mismatched glassware is another frequent issue. Using glasses of slightly different sizes, even from the same set, means the upper tiers do not sit evenly in the gaps below. Always use a matching set from the same batch, and check each glass individually before building.
Here are the most important pitfalls to watch for:
- Using flutes instead of coupes. This will not produce an overflow effect and the stack will not be stable.
- Moving the tower after assembly. Even shifting the table a few centimetres risks collapse. The final location must be confirmed before you begin building.
- Pouring before guests are positioned. The moment is wasted if half your guests have their backs turned or are in the queue for the bar. Coordinate with your MC to gather everyone beforehand.
- Not having a cleanup plan. Champagne overflow is expected, but it should land in a tray, not spread across a venue floor where guests could slip. Speak to your venue coordinator in advance.
- Allowing guests to remove glasses before the pour is complete. Ask guests to wait until the cascade has finished before taking a glass. Removing glasses mid-pour disrupts the flow.
“A champagne tower that falls flat, figuratively or literally, usually comes down to location and preparation. Those two things sorted, everything else follows.”
Creative ideas for a personalised tower
The beauty of a modern champagne tower setup is that it does not have to follow a rigid formula. Couples today are adapting the concept to suit their personality, venue, and guest experience in genuinely creative ways.
There are some wonderful champagne fountain ideas worth considering for your wedding drink display:
- Alternative beverages. Couples increasingly choose alternatives like prosecco, cava, or even non-alcoholic options such as sparkling elderflower, Diet Coke, or espresso martinis for the pour. The visual effect is identical. The experience is entirely your own.
- Acrylic glasses for outdoor events. If your reception is in a garden or barn, shatterproof acrylic coupes give you the full visual impact without the fragility concern.
- Floral champagne tower decorations. Scatter flower heads around the base of the tower or weave small blooms between the lower tier glasses. Roses, peonies, and gypsophila all work beautifully without interfering with the pour.
- LED lighting. Placing LED uplighters beneath or behind the tower creates a stunning visual effect once the evening programme begins. This is particularly striking in dimmer reception spaces.
- Guest pouring stations. Some couples set up a smaller secondary tower at a cocktail table and invite guests to participate in their own mini pour. This adds an interactive layer to your wedding drink display and is especially popular at evening receptions.
- Tier count based on guest numbers. A three-tier tower suits intimate gatherings of up to 50 guests. For larger receptions above 100, a five or six-tier structure creates the dramatic scale the moment deserves. Browse the top wedding services guide for more inspiration on how to match your extras to your event size.
My honest take on champagne towers
I have seen champagne towers done beautifully and I have seen them go wrong. The honest truth is that the failures almost always share two causes: the location was not thought through, or nobody practised beforehand.
What I tell every couple I work with is this: the tower itself is not complicated. What makes it stressful is attempting it under pressure, in front of 100 guests, for the first time. A single practice run changes everything. You learn where your glasses like to sit, you spot the one table that wobbles slightly when someone leans on it, and you discover that your pour speed needs to be about half as fast as you think.
I also think couples underestimate how much the material choice matters, not just aesthetically, but practically. Glass looks stunning. It also shatters. For any event with an outdoor element, a lively crowd, or limited staff to supervise the area, acrylic is the smarter decision. And honestly, at 2 metres away on the day, guests cannot tell the difference.
The other thing worth saying: make this moment yours. The champagne tower trends have shifted considerably in recent years, and there is no rule that says you must use champagne, or that the tower must be a certain size, or that it must look like every other tower you have seen on Instagram. If your favourite drink is prosecco, use prosecco. If you want to surround the base with your favourite flowers, do it. This is one of the most photographed moments of your wedding day, so it should look and feel like you.
— Darren
Make your wedding unforgettable with Connections Entertainment
If the idea of sourcing, transporting, and building your own champagne tower feels like one task too many in an already full wedding planning list, Connections Entertainment is here to help. The team offers professional champagne tower hire that covers the full experience: the right glassware, expert setup, and guidance on the pour so the moment goes exactly as planned.
Beyond the tower itself, Connections Entertainment provides a full range of wedding entertainment options across Norfolk and East Anglia, from DJs and live music to photo booths and lighting packages. If you are looking to put together a complete wedding entertainment package, explore the entertainers available to find the right fit for your reception style and guest numbers. Getting the entertainment right makes the difference between a wedding people attend and one they remember for years. Get in touch with the team to check availability and discuss your ideas.
FAQ
What glasses do you need for a champagne tower?
You need coupe glasses, not flutes. Coupe glasses have a wide, shallow bowl that allows champagne to overflow naturally into the tier below, creating the waterfall effect. Flutes cannot be stacked in the same way.
How many bottles of champagne does a tower need?
Plan for 5 glasses per bottle rather than 6 to account for overflow. A 36-glass tower needs approximately 7 to 8 bottles, while a 49-glass tower requires around 8 to 9 bottles. Always have at least one extra bottle ready.
Can you move a champagne tower once it is built?
No. Once assembled, a champagne tower must not be moved. Even a small shift can destabilise the structure and cause collapse. Confirm your location and level your table before you begin building.
How do you pour champagne into a tower?
Pour slowly into the top glass only and allow gravity to carry the champagne down through each tier naturally. Use chilled champagne at room temperature glasses, and never rush the pour. A slow, steady stream creates the best visual effect.
What surfaces are safe for a champagne tower?
A hard, level floor surface is required. Carpet, uneven paving, and wobbly tables all create vibration that can destabilise the tower over time. Position the tower away from high-traffic areas such as dance floors and main doorways.